-
mederma@winmedicare.com
- No.1 Dermatologist Recommended Scar Brand
-
Login

Scars tell stories—of resilience, recovery, or life’s unexpected turns. Whether from surgery, injury, or acne, these marks are a natural part of the body’s healing process. Yet, they can sometimes feel like unwelcome reminders, causing stiffness, tightness, or even self-consciousness. The good news? Scar massage is a gentle, empowering technique that can soften scar tissue, improve mobility, and help you feel more comfortable in your skin.
In this guide, we’ll break down how to massage a scar, explore the science-backed benefits of scar tissue massage, and share practical tips to integrate this practice into your self-care routine. Whether you’re managing a surgical scar, burn, or acne marks, this approach is about nurturing your body—not “fixing” it.
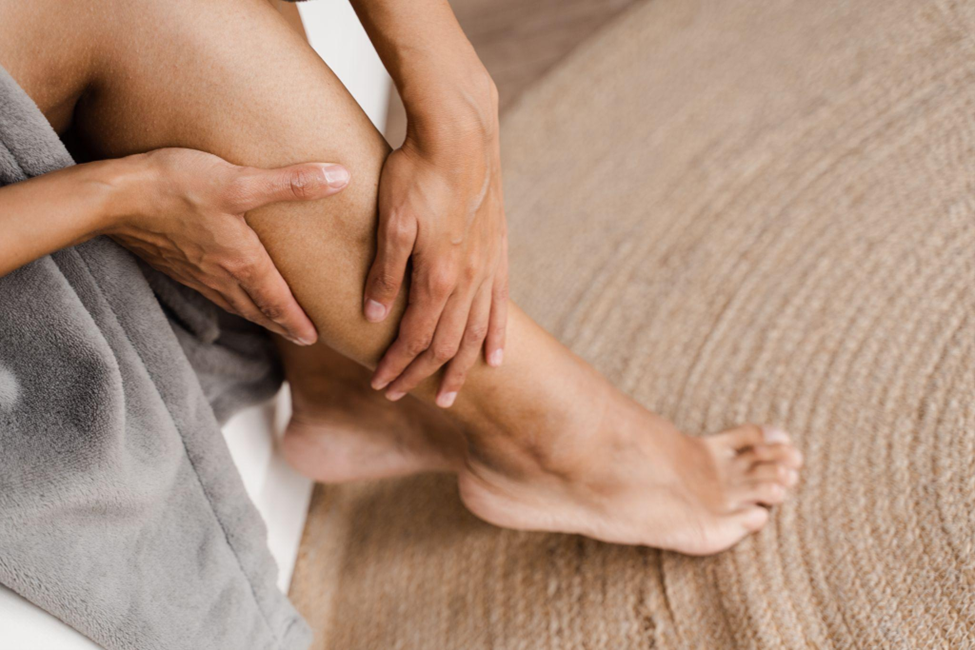
Scar massage is a manual therapy technique that involves applying targeted pressure to scar tissue to improve its texture, flexibility, and comfort. When the skin heals after an injury, collagen fibres form haphazardly, leading to stiff, raised, or tight scars. Massage helps realign these fibres, promoting a smoother, more flexible texture.
How it works:
Types of scars that benefit:
Timing is critical for safe and effective results. Starting too early can disrupt healing, while waiting too long may allow stiffness to set in.
General guidelines:
When to avoid massaging:
Also Read – How to Get Rid of Acne Scars Overnight?
Preparation is key to ensuring that your scar massage is both effective and safe. The following tools and steps will help you get started on the right foot.
Tools Needed:
Scar Cream: Choose Mederma Advanced Plus Scar Gel, a clinically proven product that enhances scar healing by hydrating the skin and improving elasticity.
Optional Tools: For those who prefer added assistance, jade rollers, silicone cups, or massage wands can help deliver more uniform pressure and deeper penetration.
Preparation Steps:
1. Basic Circular Motion (For New Scars)
Step 1: Apply a pea-sized amount of Mederma Advanced Plus Scar Gel to the scar.
Step 2: Using two fingertips, make small, clockwise circles over the scar. Imagine smoothing out wrinkles in a delicate fabric—gentle but firm.
Step 3: Gradually expand the circles to cover the surrounding skin.
Duration: 2–3 minutes, twice daily.
Why it works: This technique boosts circulation and prevents early collagen buildup.
2. Cross-Friction Massage (For Adhesions)
2Step 1: Press fingertips firmly perpendicular to the scar’s direction.
Step 2: Move fingers side-to-side in short, brisk motions, like “strumming” tight collagen fibres.
Tip: Use Mederma as a lubricant to avoid tugging the skin.
Best for: Post-surgery scars (e.g., C-sections, knee replacements) where adhesions limit movement.
3. Deep Scar Tissue Massage (For Mature Scars)
Step 1: Pinch the scar gently between the thumb and forefinger.
Step 2: Roll the tissue slowly, focusing on thickened areas.
Step 3: Finish with light stretches if the scar is near a joint (e.g., shoulder or ankle).
Why it works: This breaks up dense collagen bundles and improves elasticity.
4. Stretching and Lifting
Use your thumbs to gently lift the scar away from the underlying tissue. Hold for 10 seconds, then release.
Repeat 5–10 times to prevent adhesions and improve flexibility.
Also Read – Scar Healing Stages: What to Expect During Your Skin’s Journey
When to Seek Professional Help?
While scar massage is safe for most, consult a specialist if:
Scar massage isn’t just about improving your skin—it’s a way to reconnect with your body and honour its resilience. By dedicating a few minutes daily, you can:
Your Action Plan:
Scars are not flaws—they’re symbols of strength and survival. Whether your scar is visible or hidden, it’s a testament to your body’s ability to heal. Scar massage isn’t about erasing your history; it’s about reclaiming comfort and confidence.